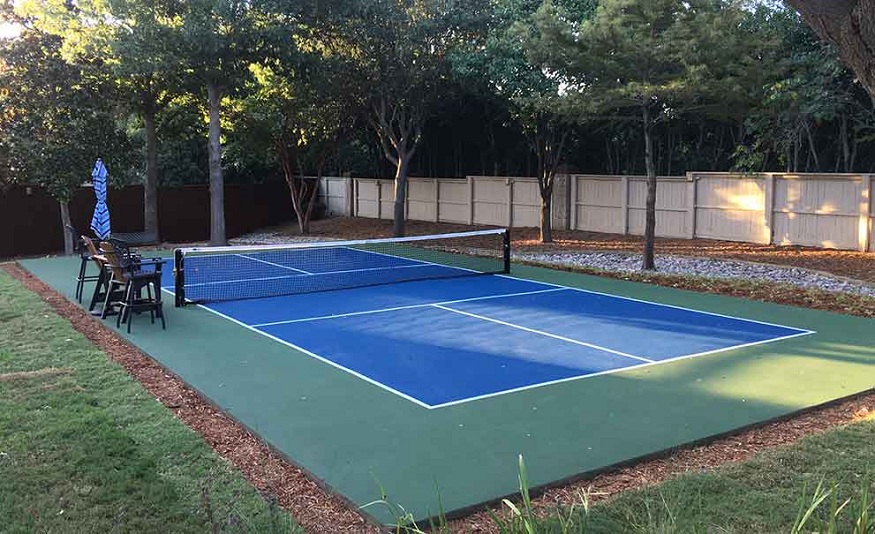
Pickleball, a popular sport combining elements of tennis, badminton, and table tennis, has recently gained tremendous popularity. With its inclusive nature and easy-to-learn rules, many homeowners consider building their pickleball courts. If you’re one of them, this guide will walk you through the essentials of pickleball court construction, making the process simple and enjoyable.
Step 1: Planning and Permits
Before you start digging, planning your pickleball court carefully is crucial. Consider the available space, orientation, and local regulations or zoning requirements. Check with your local municipality for necessary permits, as some areas may have specific rules regarding sports court construction.
Step 2: Choose the Right Location
Select a flat and well-drained area for your pickleball court. Ideally, the space should avoid large trees to prevent falling leaves and debris. Proper drainage is essential to avoid water pooling on the court surface.
Step 3: Court Dimensions
A standard pickleball court measures 20 feet by 44 feet, with a 36-inch net at the center. Ensure accurate measurements and mark the court boundaries using stakes and string. Use a level to confirm that the chosen area is even.
Step 4: Surface Preparation
Clear the chosen area of any vegetation, rocks, or debris. Once clean, consider adding a geotextile fabric to prevent weed growth. Depending on your budget and preferences, the surface can be asphalt, concrete, or crushed stone. For a DIY option, compacted decomposed granite is a popular and cost-effective choice.
Step 5: Fencing and Net Installation
Enclose your pickleball court with fencing to prevent stray balls from disrupting neighboring activities. Choose a durable net system with proper tension adjustment capabilities. Install the net at the regulation height of 36 inches at the center and 34 inches at the sidelines.
Step 6: Court Markings
Accurate court markings are crucial for a proper pickleball playing experience. Use painter’s tape or a court striping kit to mark the boundaries, including the non-volley zone (7 feet from the net on each side).
Step 7: Lighting
Consider installing proper lighting if you plan to play in the evening or at night. LED or solar-powered lights can illuminate the court effectively, allowing for extended playing hours.
Step 8: Accessories
Complete your pickleball court with benches, a ball holder, and other accessories. These not only add functionality but also enhance the overall appeal of your court.
Staying informed about recent and trendy designs in pickleball court construction adds aesthetic appeal to your project. Modern designs may incorporate vibrant color schemes, innovative court markings, and creative surface textures, enhancing the overall visual experience. Work with PICKLETILE to know the latest trends. This information allows homeowners to personalize their courts and stay current with the evolving aesthetics of sports facilities. Keeping an eye on design trends ensures your pickleball court not only meets functional requirements but also reflects a contemporary and stylish look that aligns with current preferences.
In summary, you need to understand that building a pickleball court at home can be rewarding for sports enthusiasts. By carefully planning and following these simple steps, you can create a quality court that provides endless enjoyment for family and friends. Get ready to pickle on!


